100% Hydration Sourdough Starter
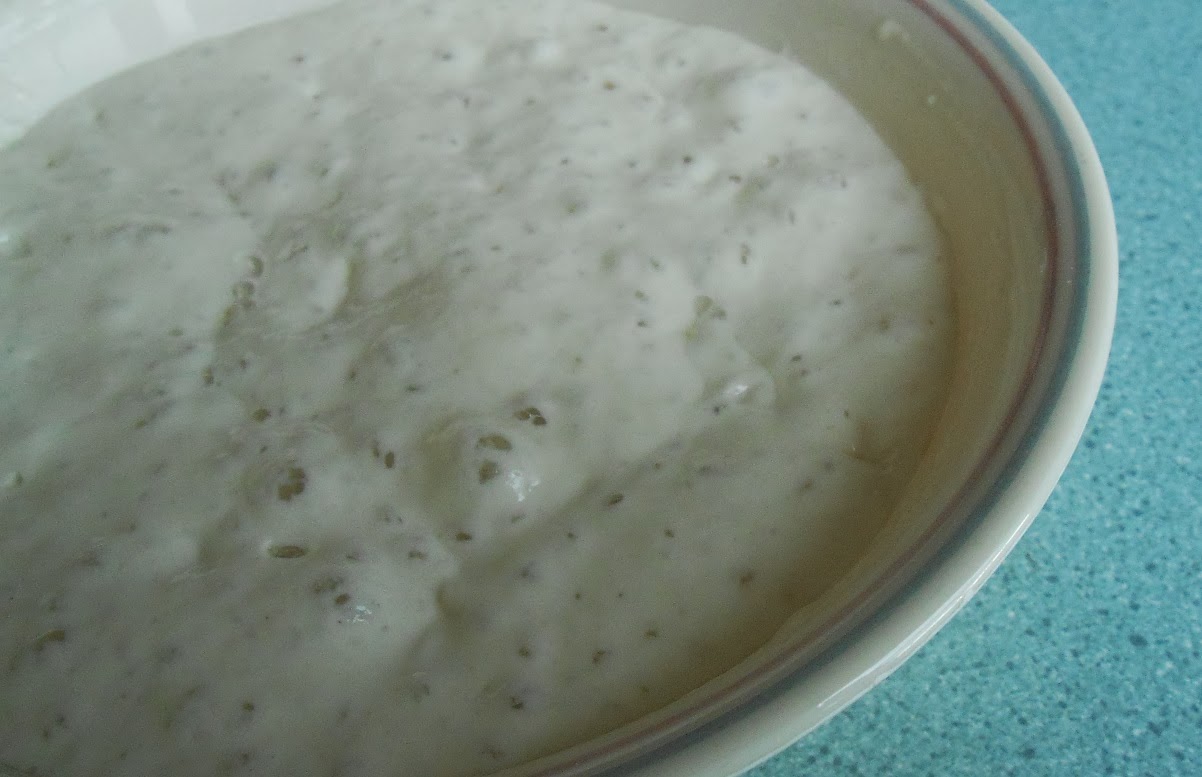
Meet Tiger! My kids love animals and we've had several pets over the years but this one is mine and I've named it Tiger. Really it's just easier to say "Tiger" rather than "sourdough starter" when I'm referring to it or asking someone to feed it for me, etc. And "Tiger" kinda fits this yeasty beasty. And yes it is alive! You can even watch it breath, it's amazing! And it makes many delicious things which I will be posting in the future.
Recipe:
Ingredients:
Whole Wheat flour (fresh ground hard)
White flour (bread or all-purpose)
Barley malt, dry or syrup (optional)
Pineapple or Orange juice
Rye flour (optional)
Water
If your tap water is not softened, you could let some sit out for a few hours to allow the chlorine to dissipate. All the water should be at about 85°F; the yeast you want to nurture likes warmish water.
General process:
The stuff you’re growing is a “culture” before it is mature and stable enough to bake with, at which point it becomes a “starter.”
The volume measurements given do not correspond exactly to the weight measurements, but the proportions (ratios) are the same. Don’t mix weight and volume measurements, use one or the other.
You will initially leave the culture alone for 24 hours, after which you will “feed” it at 12-24 hour intervals; choose your starting time accordingly. For this recipe, it's assumed you’re starting in the morning.
Feeding involves removing and discarding a portion of the culture, and adding water and flour to what remains.
Before you begin, it’s helpful to mark the weight of the container on the bottom with a Sharpie, or note it elsewhere. Then when it’s time to discard some of the culture, you can just keep taking some out and weighing the container until you know that the remaining culture is the right amount. You do not need to wash the container between every feeding.
Place a piece of tape running straight up the outside of the container, and mark the level of the culture. This is how you will know how much it has risen.
Replace the container lid when you’re done mixing. If it’s a screw-on lid or mason-jar type, you may want to leave it a little loose to give accumulated gas an escape route. If it is a plastic snap-on lid, you can snap it tight; the lid will pop off if the pressure inside gets too high.
Day 1 AM:
Make sure your container is clean, well-rinsed, and dry. Mix 100 g juice, 50 g rye flour (if using), and 50 g whole wheat flour (or ½ C water and 3/8 C of each flour.) or 100 g whole wheat flour if not using rye, and ½ tsp malt. Leave the culture in its warm spot for 24 hours.
Day 2 AM:
Hopefully you will see signs of life. Has the culture risen a little? Are there any bubbles in it, even one or two?
It is possible that you will see a large rise (50% or more) at this point. Don’t be fooled; this does not mean you’ve birthed a miracle baby. In the initial stages of a culture, a type of bacteria called leuconostoc may predominate; it produces a lot of gas and causes the rapid rise. This bacteria is not desirable, but not harmful either, and it will eventually die out as the beneficial critters settle in and the culture becomes more acidic. You may also notice that the culture has a rather unpleasant odor; don’t worry, this too shall pass. (If you see absolutely no sign of life whatsoever, leave it alone for another 12 hours before proceeding. If there is still nothing, go ahead anyway and see what happens).
Discard all but 75 g of the culture. Feed this with 75 g juice or water, 25 g rye flour, and 50 g whole wheat flour and ½ tsp malt (1/3 C starter, 1/3 C water, 5 tsp rye flour, and 1/3 C whole wheat flour). Set it back in its warm spot for 12 hours.
Day 2 PM:
You may see signs of activity, but the culture may be either more or less lively than what you saw this morning. Anything from a single bubble to a 100% rise is good. Again, feed 75 g of culture with 75 g juice, 25 g rye flour, 50g whole wheat flour and ½ tsp malt, and return it to the warm spot.
Day 3 AM:
Your culture may appear dead, but it’s probably not. Don’t worry, just go ahead and feed as before. Day 3 PM and every 12 hours thereafter. Continue to feed as you've been doing except omit malt and use water instead of juice and white flour instead of whole wheat. At some point things should pick up steam, and you will notice that the culture gets a little more vigorous with each feeding.
After about 5–7 days, hopefully you will observe that the culture can double itself in 8 hours or less, smells pleasantly sour, and is full of bubbles. Congratulations, you have raised a 100% hydration starter that’s ready to bake with!
At this point you can also start decreasing the amount of culture in relation to the flour and water, and use room-temperature instead of 85°F water. You have been mixing 1:1:1 culture:water:flour at each feeding. Now try 1:2:2 and see if the starter can still double in 8 hours or less. Continue until you use 1:4:4 and feed every 12 hours for life. I keep alive 10 g starter with the 1:4:4 ratio of water and flour. I put the left-overs in the fridge and use it for pancakes, waffles, onion rings, etc. The feeding before I am going to make bread I increase my starter according to how much I need.
After your starter is roaring healthy you can keep it in the fridge and feed it once a week if you prefer. You can also (and I highly recommend this) spread some out on parchment paper and let it dry completely. Break it into pieces, put it in a freezer bag and keep in the freezer. This is smart because what if you move or go on a long vacation and can't take it with you. Or, what if you forget about it and it dies. Or what if your spouse or child accidentally throws it down the drain. Well, just get your dried starter and reconstitute it and there you go! Soak in warm water and begin feeding.

Comments
Post a Comment